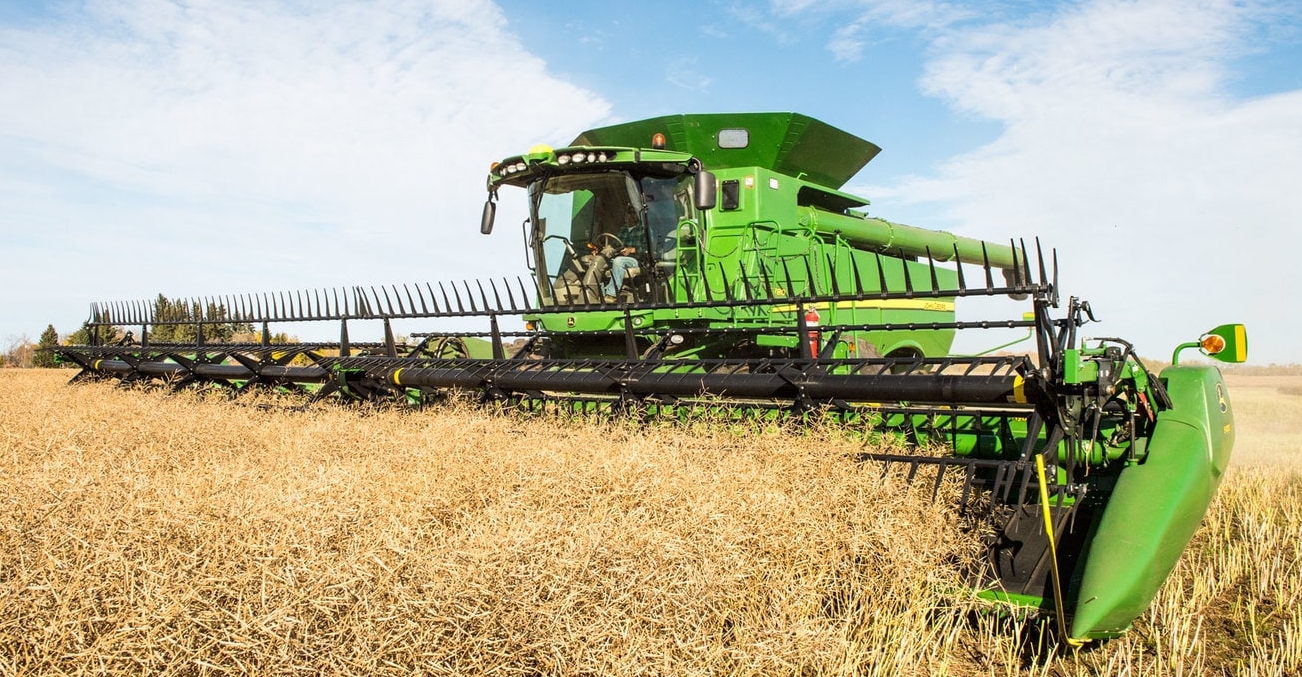
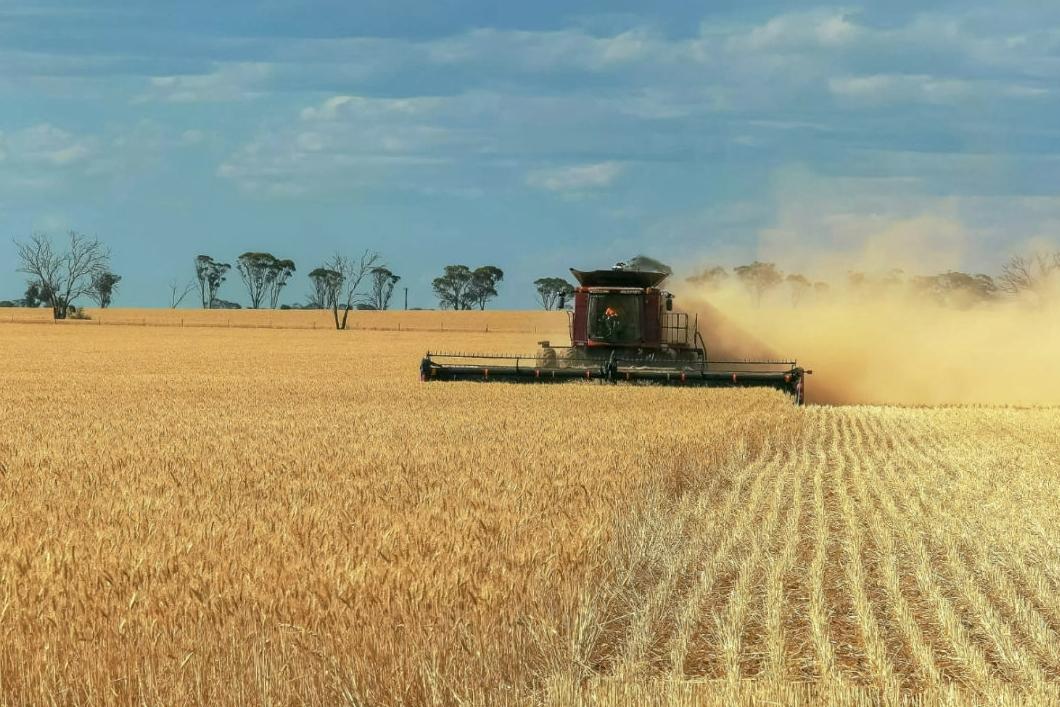
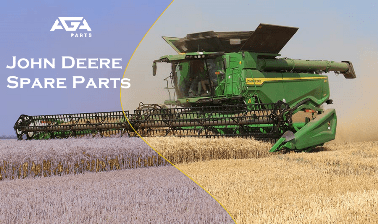
If you optimally set up your combine harvester, you can increase the machine’s output by more than 20 percent during the harvest. You should observe these basic rules.
Basically, combine harvesters are adjusted according to two criteria: according to the crop conditions and according to the throughput. This means that every time before threshing you should “feel” the crop and record its suitability for threshing with your hands. To do this, tear off a few ears of corn and immediately feel how firmly they are attached to the stalk. The hands are the individual threshing mechanism with which the grains are rubbed out. With this simple, subjective analysis of the situation, you tend to be better off with the setting than relying solely on the display instruments of the machine.
1. Adapt the setting to the throughput
The combine harvester setting is based not only on the crop conditions, but also on the throughput. If the driving speed is increased from five to six km/h, usually only the driving lever is pushed forward, but the setting of the working elements is rarely adjusted to the increased throughput.
In the example, however, the threshing unit has to thresh out 20 percent more crops and the cleaning department has to separate 20 percent more material on the sieves. If the throughput is increased without “following” the setting, you quickly reach the loss limit. The performance-based setting is a very effective but unfortunately underestimated measure.
2. Cutting height: As low as necessary, as high as possible
The following applies to the cutting height: as low as necessary and as high as possible. Every centimeter that you mow higher brings two percent more power and just as much less diesel consumption (10 cm higher cut = 20 percent more power). The base of the culm is green and moist, this section does not have to go through all the working organs.
Depending on the intended use of straw and the subsequent tillage, mowing is only as deep as necessary. This not only improves the cutting performance, but also the overall separation performance of the combine harvester.
3. Pay attention to the quality of the cutting unit
An intact cutterbar is important. An even crop flow in the cutterbar, with the ears first, is the basic prerequisite for optimal loading of the threshing system. With intermittent feeding, the threshing mechanism always works more aggressively and the “unround” course continues. The basket separation decreases, the cleaning performance is worse, the proportion of broken grain increases, the shaker/rotor and cleaning losses increase. The cutting height and Vario cutterbar are to be used profitably.
4. Adjust the setting step by step
Most drivers use the programmed basic setting as a starting point or call up the values they have saved themselves. For adjusting the combine setting to the
- stock conditions,
- throughput,
- losses and
- quality
should always be done step by step.
After each measure, it is checked whether it has brought the desired success. Only then do you move on to the next setting step. Gradually also means that the pairing of the working elements is processed one after the other. For example, first the concave gap for a corresponding throughput and then the drum speed for threshing. The same applies to the blower and sieve position.
5. Consider the time of day when threshing
Threshing conditions sometimes change drastically over the course of a harvest day. At the beginning of the harvest, the straw has mostly just ripened but is still tough, the glume closure is firmer and the awns are elastic. The threshing mechanism has to work more aggressively. The threshing properties improve with increasing maturity. Overripe, dry wheat is threshed very gently at the end of the campaign to avoid broken grain and short straw.
Speed differences between tough and brittle wheat can be as much as 350 rpm.
6. Do not exceed the one percent loss mark
If you want performance, you have to thresh more sharply and accept higher threshing losses. In bad weather conditions, where, for example, there is a risk of a loss in the number of cases, this is a popular strategy. On the other hand, those who work with minimal losses drive more slowly and thresh more gently.
However, 1 percent shaker/rotor and cleaning loss is a mark not to be exceeded. You can definitely work with 0.5 percent at a reduced driving speed, but the missing straw cushion and the associated higher proportion of broken grain make up for the supposed advantage.
7. Calibrate loss indicators with the test pan
Loss indicators for shaker/rotor and cleaning losses only reflect trends and must be calibrated daily with the test dish. If short straw parts or stalk knots collide with the sensor and are evaluated as lost grains, incorrect conclusions are drawn with regard to the setting and driving style. That costs money, quality and performance.
